Have you been considering upgrading the video card on your Dell XPS desktop all in one? Replacing the video card is generally a straightforward process that can significantly boost your system’s performance. In this article, I’ll take you through the steps to put a new video card in a Dell XPS desktop all in one, so you can improve your system’s graphics capabilities and take your gaming or multimedia experience to the next level.
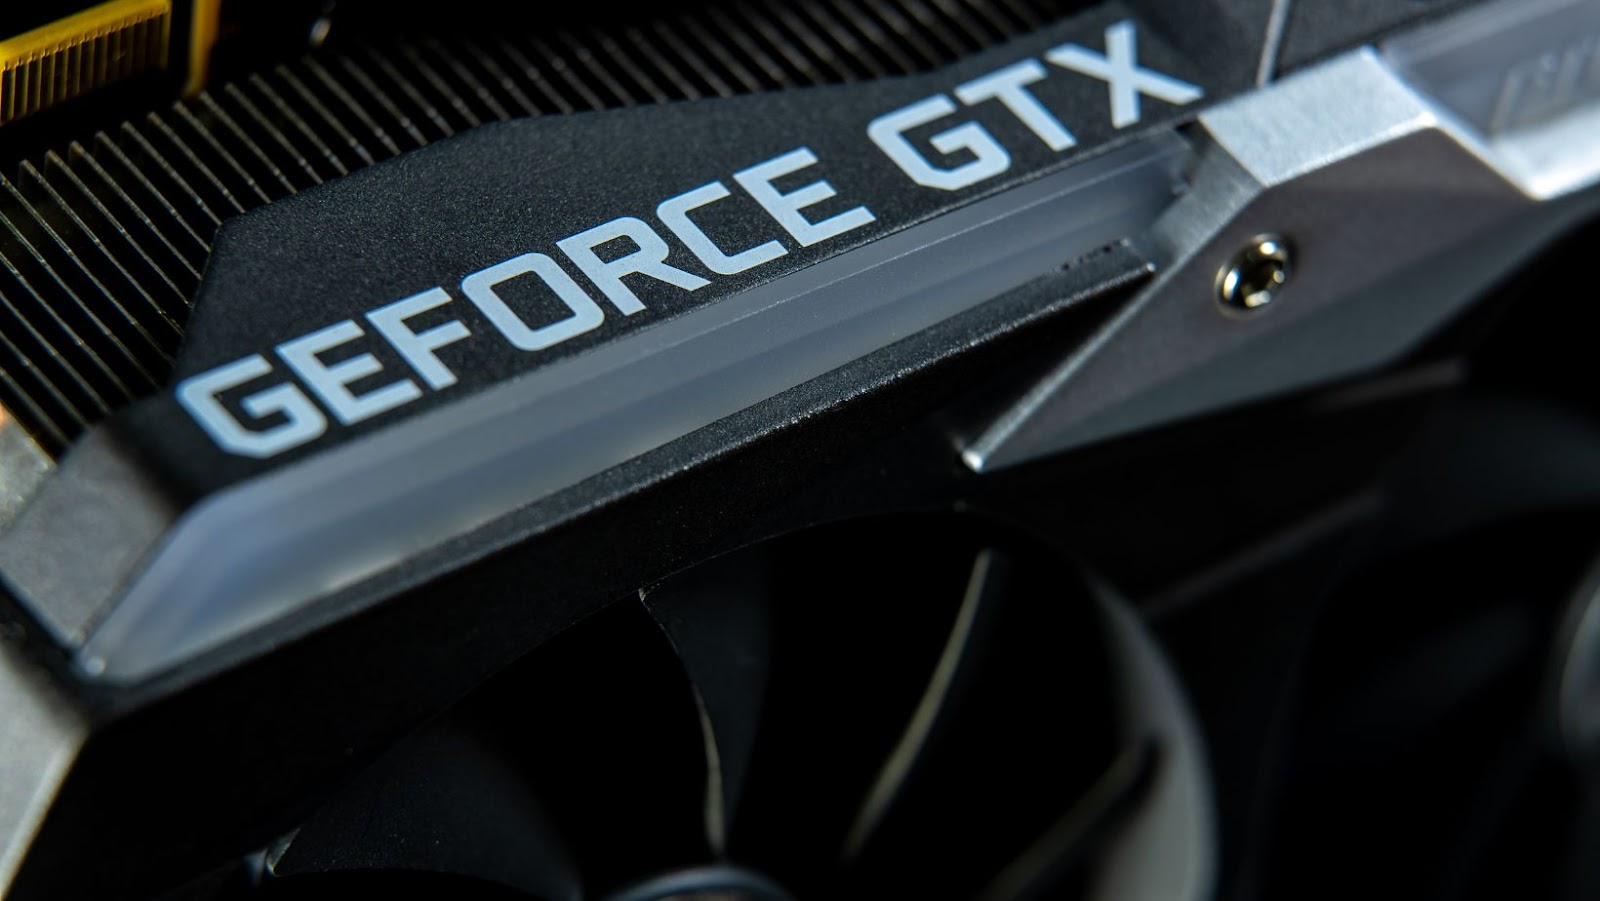
Before diving into the installation process, you should identify the compatible video card options for your Dell XPS desktop. Dell’s website contains a list of approved video cards you can refer to when selecting your new video card. You should also check the power supply unit to ensure it can power the new video card. If not, you may need to upgrade it with the video card.
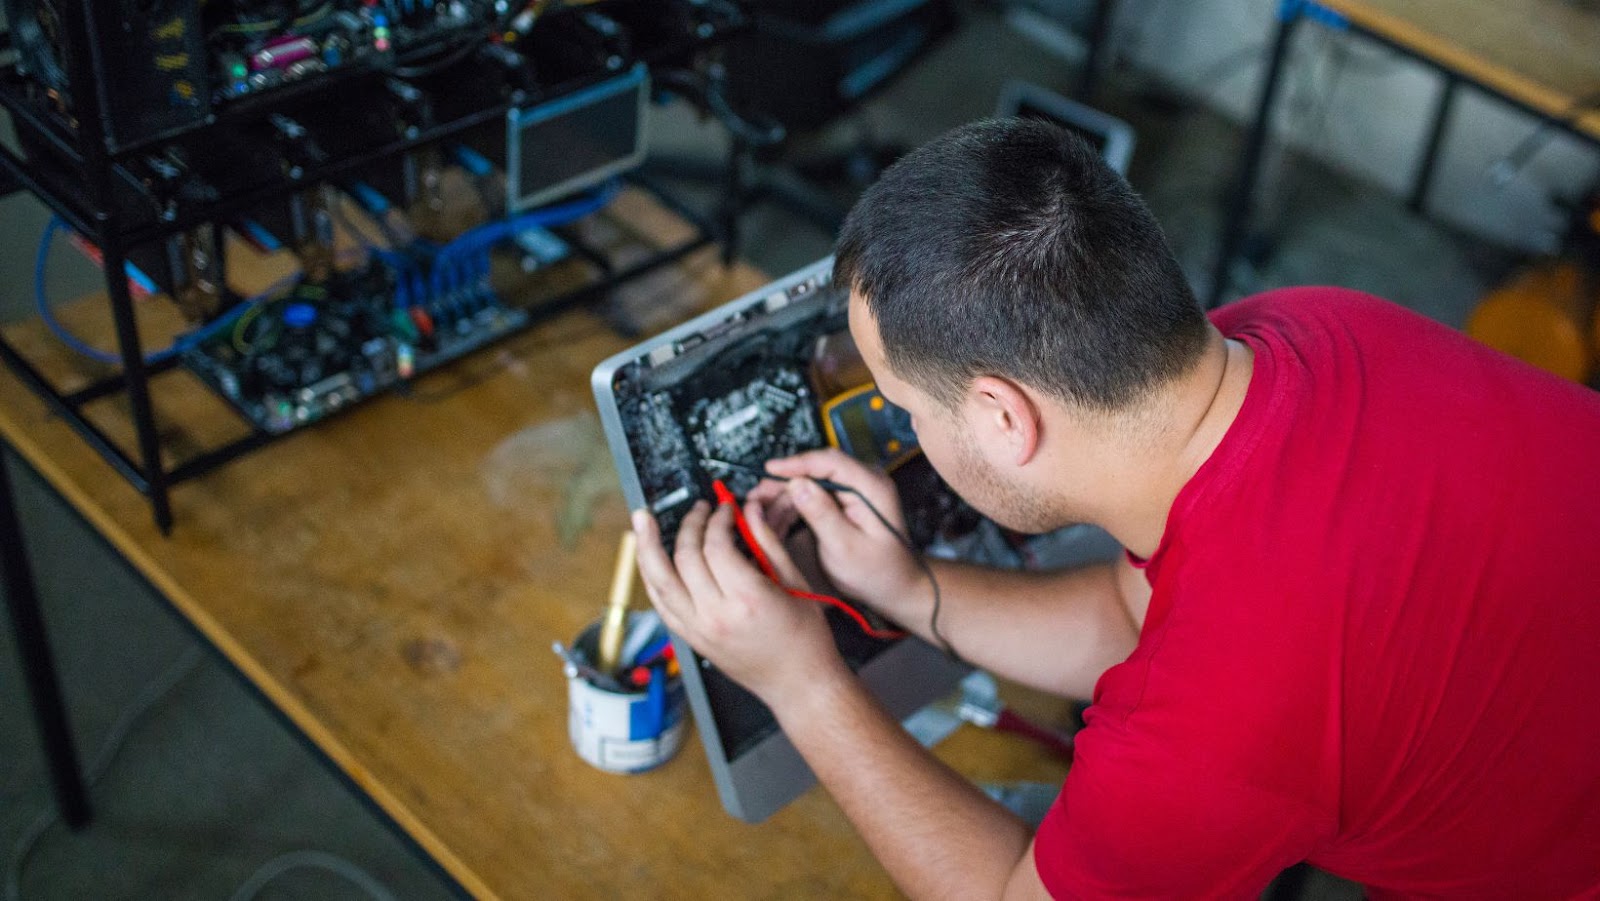
Once you have your new video card, turn off your Dell XPS desktop all in one and disconnect all cables. Next, locate the video card slot on the motherboard and remove the existing video card by unclipping it from the slot. Next, gently insert your new video card into the slot and ensure it’s securely in place. Then, connect any additional power cables required to power the new video card. Finally, reassemble your Dell XPS desktop, turn it back on, and install any necessary drivers for your new video card.

Preparing Your Dell XPS Desktop All-in-One
If you’re looking to upgrade your Dell XPS Desktop All-in-One, installing a new video card is a great way to enhance your computer’s performance and visual quality. Follow these simple steps to prepare your desktop for a new video card:
- Turn Off Your Computer: Before you start any modifications or upgrades, make sure your computer is turned off and unplugged. This is crucial to prevent any electrical shock that can damage your machine.
- Open the Case: Locate the screw that secures the back panel of your All-in-One. You may need to consult your user manual to find the exact location of the screw. Remove it and gently remove the back panel of your computer.
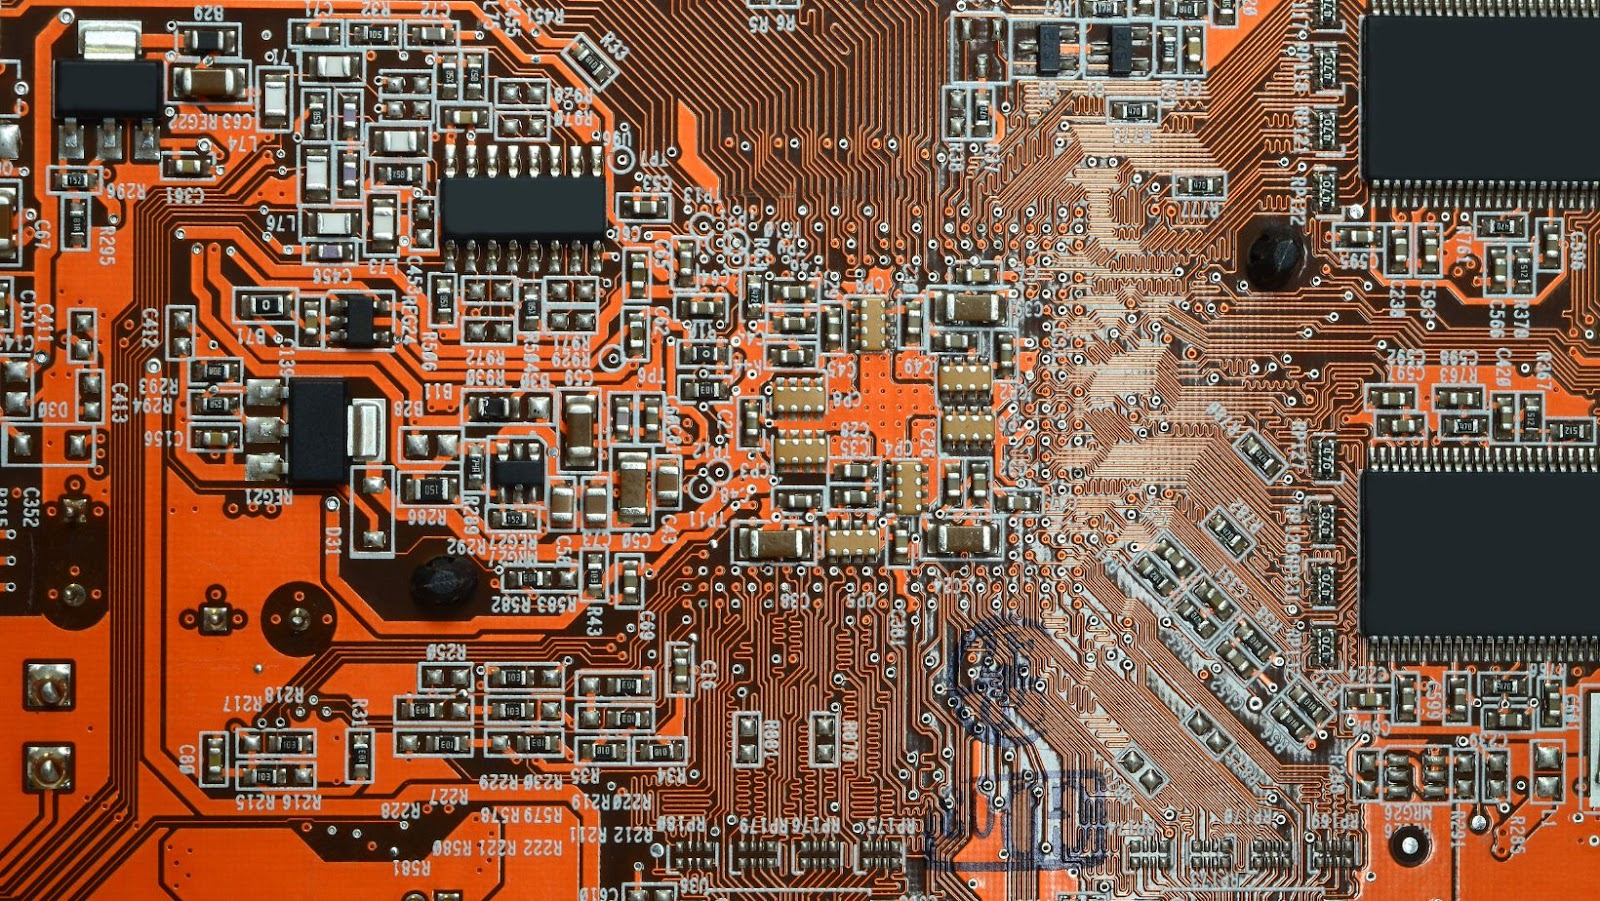
- Identify the PCIe Slot: Identify the PCIe (Peripheral Component Interconnect Express) slot, where the video card will be installed. It is usually found near the bottom of the motherboard, and it is easily recognizable by its size and shape.
- Remove the Old Video Card: If you have an old video card installed, remove it by disconnecting the power cable and gently pulling it out of the PCIe slot.
- Prepare the PCIe Slot: Clean the PCIe slot with a dry cloth or compressed air to remove dirt or debris. This will ensure a secure and smooth installation of the new video card.
- Insert the New Video Card: Carefully insert the new video card into the PCIe slot, ensuring it clicks into place. Connect the power supply cable to the video card and secure it properly.
- Close the Case: Once the new video card is installed, replace the back panel of your All-in-One and secure it back in place with the screw you removed earlier.
Following these simple steps, you have successfully prepared your Dell XPS Desktop All-in-One for a new video card installation. In the next section, we will discuss installing the actual video card. Stay tuned!
How To Put A New Video Card In A Dell XPS Desktop All In One
Before installing a new video card in your Dell XPS Desktop All-in-One, you need to remove the old one. Here’s how to do it:
- Turn off your computer and disconnect all cables and cords connected to it.
- Place the computer on a flat, stable surface with enough lighting.
- Open the computer case by pressing the release button or removing screws holding the case.
- Locate the old video card. It should be connected to the motherboard and located within the PCIe slot.
- Carefully detach all cables connected to the video card. Make sure you take note of their location and orientation for reinstallation.
- Remove the fasteners or screws holding the card to the case. You may need a screwdriver to do this.
- Gently pull and slide the old video card out of the PCIe slot.
- Keep the old video card safe if you need to reuse it or return it to Dell if it’s still under warranty.
Remember to handle your hardware carefully to avoid damaging any components. With the old video card removed, you can now install the new one. Ensure to note the new video card’s model and compatibility to avoid compatibility issues.
Installing Your New Video Card:
Step 1: Prepare for Installation
Before installing your new video card, ensure you have all the necessary tools and materials. You will need your new video card, a screwdriver, and an antistatic wrist strap to prevent electrostatic discharge. Make sure you also have enough space to comfortably work on your computer.
Step 2: Unplug and Open Your Computer
Unplug your computer from the wall to avoid electric shocks. Then, open the case by unscrewing the screws at the back of the computer. Be sure to refer to the owner’s manual if you’re unsure how to access your computer’s inside.
Step 3: Remove the Old Video Card
Use your screwdriver to unscrew any screws holding the video card in place. Press down on the clip that holds the old video card to release it from the slot. Gently remove the old video card from the slot and set it aside.
Step 4: Install the New Video Card
Align your new video card with the slot and gently push it into place until you hear a click. Next, secure the video card in place by screwing in the appropriate screws with your screwdriver.
Step 5: Close Your Computer and Plug It In
Ensure the new video card is securely fastened and all screws tightened. Next, close the computer case and fasten the screws at the back of the computer. Then, plug your computer back in and power it up.
Final Step: Install the Driver
After powering up your computer, insert the driver disc that came with your video card and follow the onscreen instructions to install the driver. You can also download the latest driver software from the manufacturer’s website.
Congratulations! You’ve installed your new video card on your Dell XPS Desktop All in One computer. Enjoy the improved graphics performance!
Conclusion:
Putting a new video card in a Dell XPS desktop all in one is a straightforward process that can significantly enhance the performance of your computer. With the right tools, internet connection, and patience, you can enhance your computer’s gaming, video editing, and other graphic-intensive tasks. Let’s review the key takeaways:
- Check the compatibility of the new video card with your Dell XPS desktop all in one.
- Before starting the process, ensure you have all the necessary tools and equipment, including a screwdriver, an internet connection, and the latest video card driver.
- Turn off the computer and disconnect all power cables before opening the case.
- Follow the step-by-step instructions on replacing the old video card with the new one. Ensure you secure the new video card, connect all cables, and turn on the computer.
- Install the latest video card driver and test the new video card’s functionality.
By replacing the old video card with a new one, you can enjoy a better resolution, faster performance, and higher frame rates on your computer. This is an easy and cost-effective way to improve the performance of your computer for gaming, video editing, and other graphic-intensive tasks. So don’t hesitate to upgrade your video card and take your computer’s performance to the next level.